
Due to covid-19 pandemic, we have been forced to use, more than ever, video conferencing tools to communicate with our colleagues, relatives, and friends. Let’s see how to self-host a free, open source tool for it.
There are great tools out there. But, sadly, most of the well known ones are not free, open source software. Some have limited features (like connection time, or number of participants). And some people are concerned about where their data go.
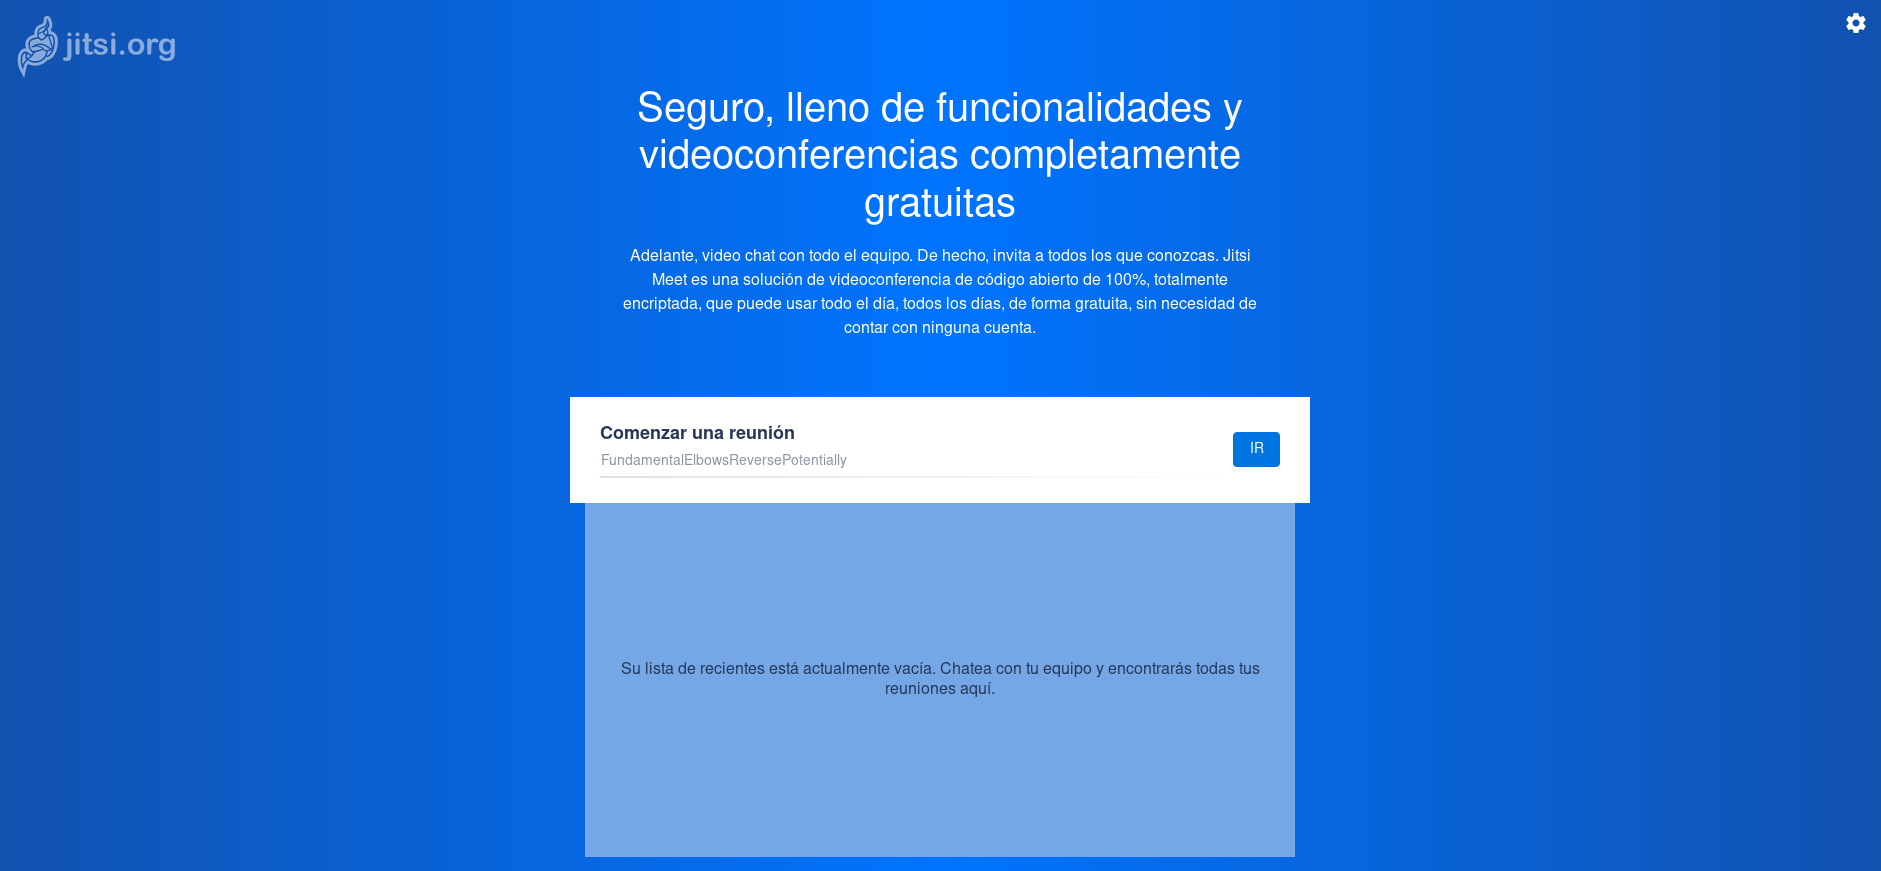
Is it possible to use an open source solution, based in open standards, and if possible, self-hosted in my own server or my own cloud environment? The quick answer is: Yes, go for Jitsi! (for example).
Jitsi already provides a public web based access solution to create your own conference rooms with unlimited number of people per room, unlimited connection time, screen sharing, chat, and many other features (I love the “Raise/Lower your hand for attention” one). Then, why setting up my own. Mostly, for 2 reasons:
- To save some public Jitsi servers bandwidth
- To experiment with a free, open source solution
Let’s see how I’ve been able to set up and host my own Jitsi instance.
TL;DR
If you don’t want to go for all the details, just:
- Go for your own Debian server or a Debian instance in your cloud provider
- Follow Jitsi deployment instructions for Debian based distributions
That’s how I’ve done it. Around 15 minutes to have everything ready. During next sections I’ll enter into the details.
Setting up a Debian Linux machine in the cloud
Most cloud providers give you the option of setting up Debian machines in the cloud. For this experiment I’ve used an AWS Lightsail instance with 4 GB RAM, 2 vCPU, 80 GB SSD.
If you plan to tie it with your own domain or subdomain, it’s convenient to set up an static IP for your machine. If you do so, in your domain provider, remember to register the IP to your desired domain or subdomain (hostname). We’ll need that hostname later.
And last, but not least, Jitsi will require some ports in your server to be open. At least, port 443 for TCP communications, and ports 10000 to 20000 for UDP. This is how my set up looks like:

Setting up Jitsi on Debian
As a reference, I’ve used Jitsi documentation. The required steps are:
First install the Jitsi repository key onto your system:
wget -qO - https://download.jitsi.org/jitsi-key.gpg.key | sudo apt-key add -
Create a sources.list.d file with the repository:
sudo sh -c "echo 'deb https://download.jitsi.org stable/' > /etc/apt/sources.list.d/jitsi-stable.list"
Update your package list:
sudo apt-get -y update
Install the full suite:
sudo apt-get -y install jitsi-meet
During installation process, you’ll be asked to create a SSL certificate (Chose the ‘generate a new self-signed certificate‘ option) and the hostname for your Jitsi server.
Once the main installation is finished, get a Let’s Encrypt certificate for your Jitsi server:
sudo /usr/share/jitsi-meet/scripts/install-letsencrypt-cert.sh
Ready to go
And that’s it! Visit your https://hostname address to start having fun!
Thank you to Jitsi community for the amazing work done to build this solution!!