During last weeks I’ve been playing with Open Broadcaster Software (OBS) Studio, or simply OBS. An awesome free, open source software project, that among many other things allow to build to custom scenes to be used as input for video conferences. How can it be done in Linux, and more precisely in Debian?
About OBS
I’ve discovered OBS a couple of months ago, while learning how to produce video content for Juntos dese casa initiative. It allows the user to compose scenes with several sources (images, video camera input, mics, etc.) and to manage those scenes like if you were a video recording manager in an studio.
It’s already available for many platforms and operating systems, and in Debian it’s been as easy as:
$ sudo apt install obs-studio
One of its cool features is that it allows direct streaming of the video generated to several services like YouTube or Twitch. But it also allows to record the output into a video to share or stream later.
But, would it possible to use these scenes in a video conference call? I’ve discovered there are plugins to do it on certain operating systems, but in Linux (and for Debian in my case), it requires some work.
How to make it work?
I would like to thank Henning Jacobs for his detailed post about this topic. It has been very useful for me.
First you need to install v4l2loopback-dkms:
$ sudo apt install v4l2loopback-dkms
To activate it, I have followed Henning recommendations:
$ sudo modprobe v4l2loopback devices=1 video_nr=10 card_label="OBS Cam" exclusive_caps=1
Next, you need to compile and install obs-v4l2sink plugin, but first you might need cmake and libobs-dev. So, as usual in Debian :
$ sudo apt install cmake libobs-dev
Once installed, you need to follow these steps:
$ sudo apt install qtbase5-dev
$ git clone --recursive https://github.com/obsproject/obs-studio.git
$ git clone https://github.com/CatxFish/obs-v4l2sink.git
$ cd obs-v4l2sink
$ mkdir build && cd build
$ cmake -DLIBOBS_INCLUDE_DIR="../../obs-studio/libobs" -DCMAKE_INSTALL_PREFIX=/usr ..
$ make -j4
$ sudo make install
Sadly, it seems that the plugin file ends in a wrong folder (/usr/lib/obs-plugins/), and you need to copy it to the right one:
$ sudo cp /usr/lib/obs-plugins/v4l2sink.so /usr/lib/x86_64-linux-gnu/obs-plugins/
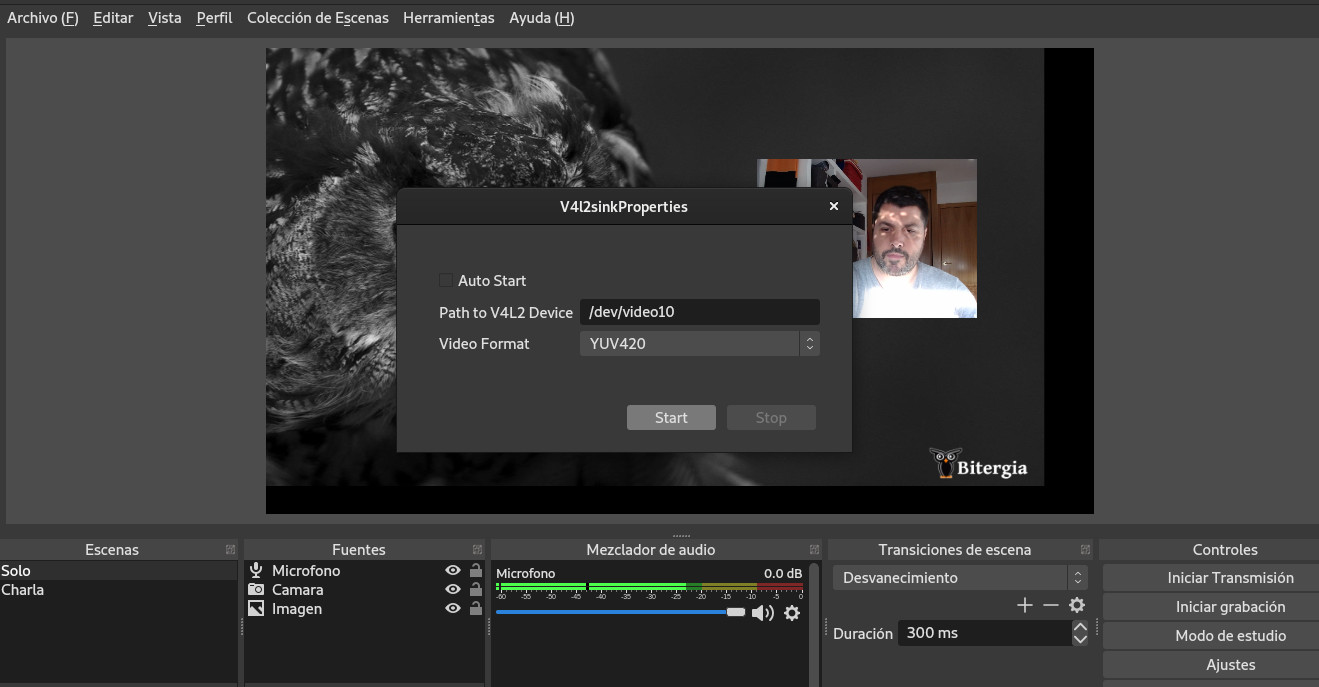
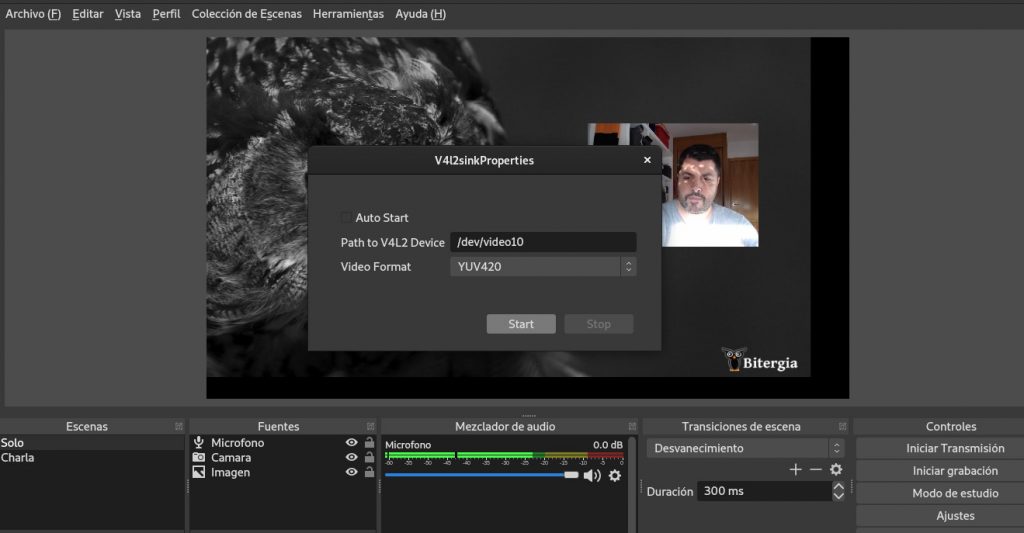
Now, if you run OBS, under Tools you would have a new choice: V4L2 Video Output. You need to choose the path to V4L2 device (remember the nr parameter when you activate the v4l2loopback module).
And now, you should be able to choose your “OBS Cam” in any video conference tool. For example in Jitsi:
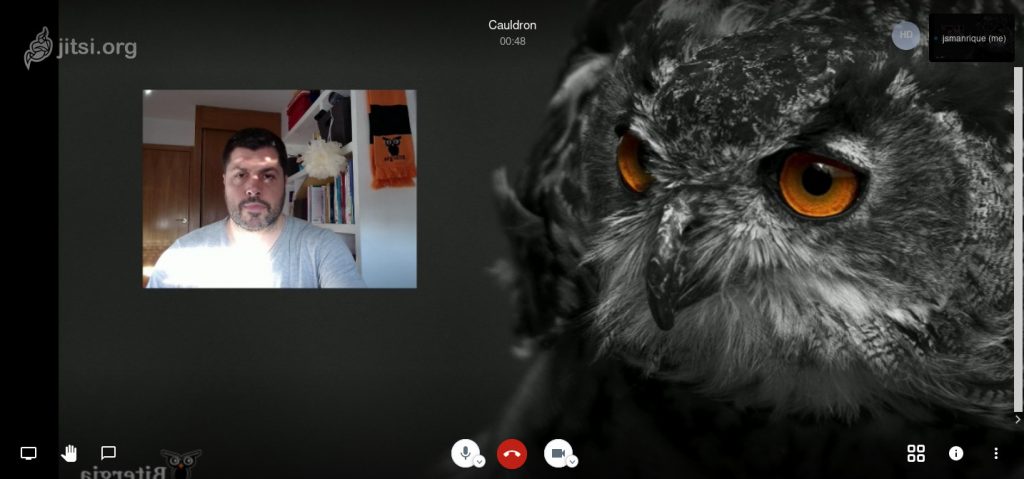
If you notice that the output is mirrored, or upside down, don’t worry. As far as I have tested, the rest of the people see it right in their screen.
One of the cool features about using OBS this way is that you can give an internal talk or training, with nice scenes and transitions between cameras, and record it for later consumption:
Bitergia team have missed these Inner Seminars so much! This time was @jsmanrique ‘s turn, talking about product design 🦉💚 pic.twitter.com/j3a56322xo
— Bitergia (@Bitergia) May 6, 2020
If you find this article interesting, please, let me know through comments to this post. Thank you!
I needed v4l2loopback-dkms 12 for this to work (my OS brought an older version) other than that it worked like a charm! Videoconferences and remote meetings will never be the same now 🙂
Muchas gracias amigo,
siguiendo tus instrucciones he conseguido que me funcione la vcam en ubuntu 20.04
Thanks a lot, man.I’ve successfully installed Vcam pluggin in OBS following your instructions (ubuntu 20.04)
device open failed
Not sure what I am doing wrong, but when I “Start” the V4L2 Video Output, the OBS video starts to flicker then eventually crash. It seems like some sort of feedback loop on itself. Any ideas?
No idea!
Some times, during operating system upgrades, some core libraries are updated, and all the process need to be repeated to use the new libraries. At least, it has happened to me twice.
Great doc, was missing copying the .so to the right directory.
This document needs to be updated. The v4l2loopback-dkms package from the Debian/Ubuntu repositories should NOT be used. With kernel updates the source code that is used to create the module becomes outdated and the compiled module is somewhat broken which manifest itself as Zoom not seeing the virtual camera (“OBS Cam”).
The fix to this problem is the is to pull the latest source code from https://github.com/umlaeute/v4l2loopback compile and install.
You may need to redo this every time the kernel is updated.
STEPS
$ git clone https://github.com/umlaeute/v4l2loopback.git
$ cd v4l2loopback
$ make && sudo make install
$ sudo depmod -a
Just noticed that the plugin install seems to be in the correct location, so there’s probably been some bug fix since you wrote these instructions.
FWIW,
Just to clarify, in case, as it is shown in one of the screenshots, but not explicit in the text, the video device, corresponding to the “video_nr=10” arg of the modprobe, is /dev/video10
In case check with : ls -al /dev | grep -i video
Muchas gracias for this tutorial that proved perfect on my Debian too.
I, I install everything just fine and I had obs-plugins into /usr/lib/obs-plugins as well as usr/lib/x86_64-linux-gnu just to make sure.
V4L2 still doesn’t appear under Tools in OBS. Do you have any suggestion?
Great contribution. Thank you very much !!
In my Debian buster Debian 4.19.181-1 working perfectly, also v4l2sink.so was copied in the correct path.